Using the image block, you can add different types of images to your website.

How to add an image
After putting the image block on the page, you can open the settings by clicking the block. The “Choose image” option will lead you to the gallery, where you can choose any image you have uploaded. You can upload an image using the drag-and-drop option, or by clicking the “Upload image” button. Images can be uploaded to solidpixels at a maximum of 2600 x 2600px resolution and with the data size of up to 10MB.
Image settings
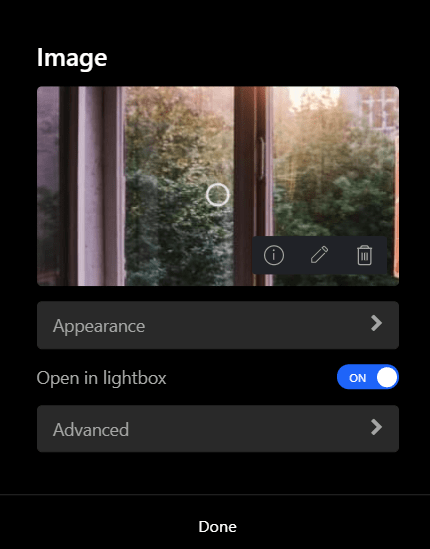
Clicking the image block opens its settings.
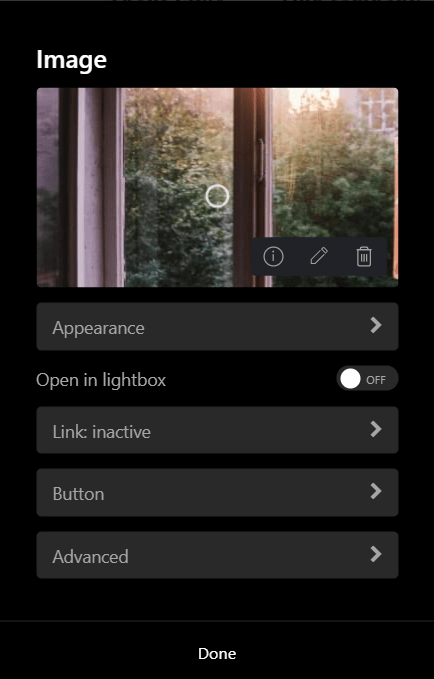
In the upper part of the window you can change the image for a different one uploaded to the gallery by clicking the pen icon, or you can delete it by clicking the trash can icon.
Focus point
On the image preview, you can change the focus point by dragging the target icon. Position of the focus point on the image preview will determine where the static centre point of the image will be. The image will be centered on this point if the original aspect ratio of the image is larger than its aspect ratio on the page or on different devices.
If you for example want to use an image with the aspect ratio of 3:2, but in the setting you choose an aspect ratio of 1:1, the focus point will determine which part of the image will be always visible.
Appearance
If you want the appearance of your image to be a standard photo, choose the “photo” option in the image settings. If you want the image to appear only as an icon - a small version of the image, or if you want to use small pictograms and other graphics on your website, choose the “icon” option.
Image appearance
In the appearance settings, you can pick from one of the six basic types of appearance on the page. Each type is a different combination of text and image. Further, you can also change the width of the image or a different aspect ratio. By choosing an aspect ratio different from the original, the image won’t be cropped, instead, so called image masking appears, which only hides the edges of the image.

Icon appearance
In the icon appearance settings, you can change the position of text around the icon, its size and its alignment.
Open in lightbox
If you want the visitors to the website to be able to open images and view them in larger size, turn on the “Open in lightbox” option. By enabling this option, it won’t be possible to also include a link with the image. If you are planning to attach a link to the image, disable the “Open in lightbox” option.
Link
If you wish to use your image as a link, you can add it in the image settings. You can read more about how links work and where they can lead in this article.

Button
If you want the link included with the image to be more visible, you can use a button. When you toggle this function on, a button will appear on top of or around the image and it will lead the visitors to the link you have chosen for the image. Its exact placement depends on the type of appearance you chose for the image. You can also change the size of the image and its style, either classic or inverse.

Advanced settings
In the advanced settings, the ID can be very useful to you. It is used to create a link using an anchor. You can learn more about setting up and using anchors in this article. Next, there is an option to Use source images. Toggle this option on, if you want the image to be uploaded without any resizing done according to the website’s responsiveness, which is otherwise automatic. Additional information about automatic generation of responsive images is in this article.